
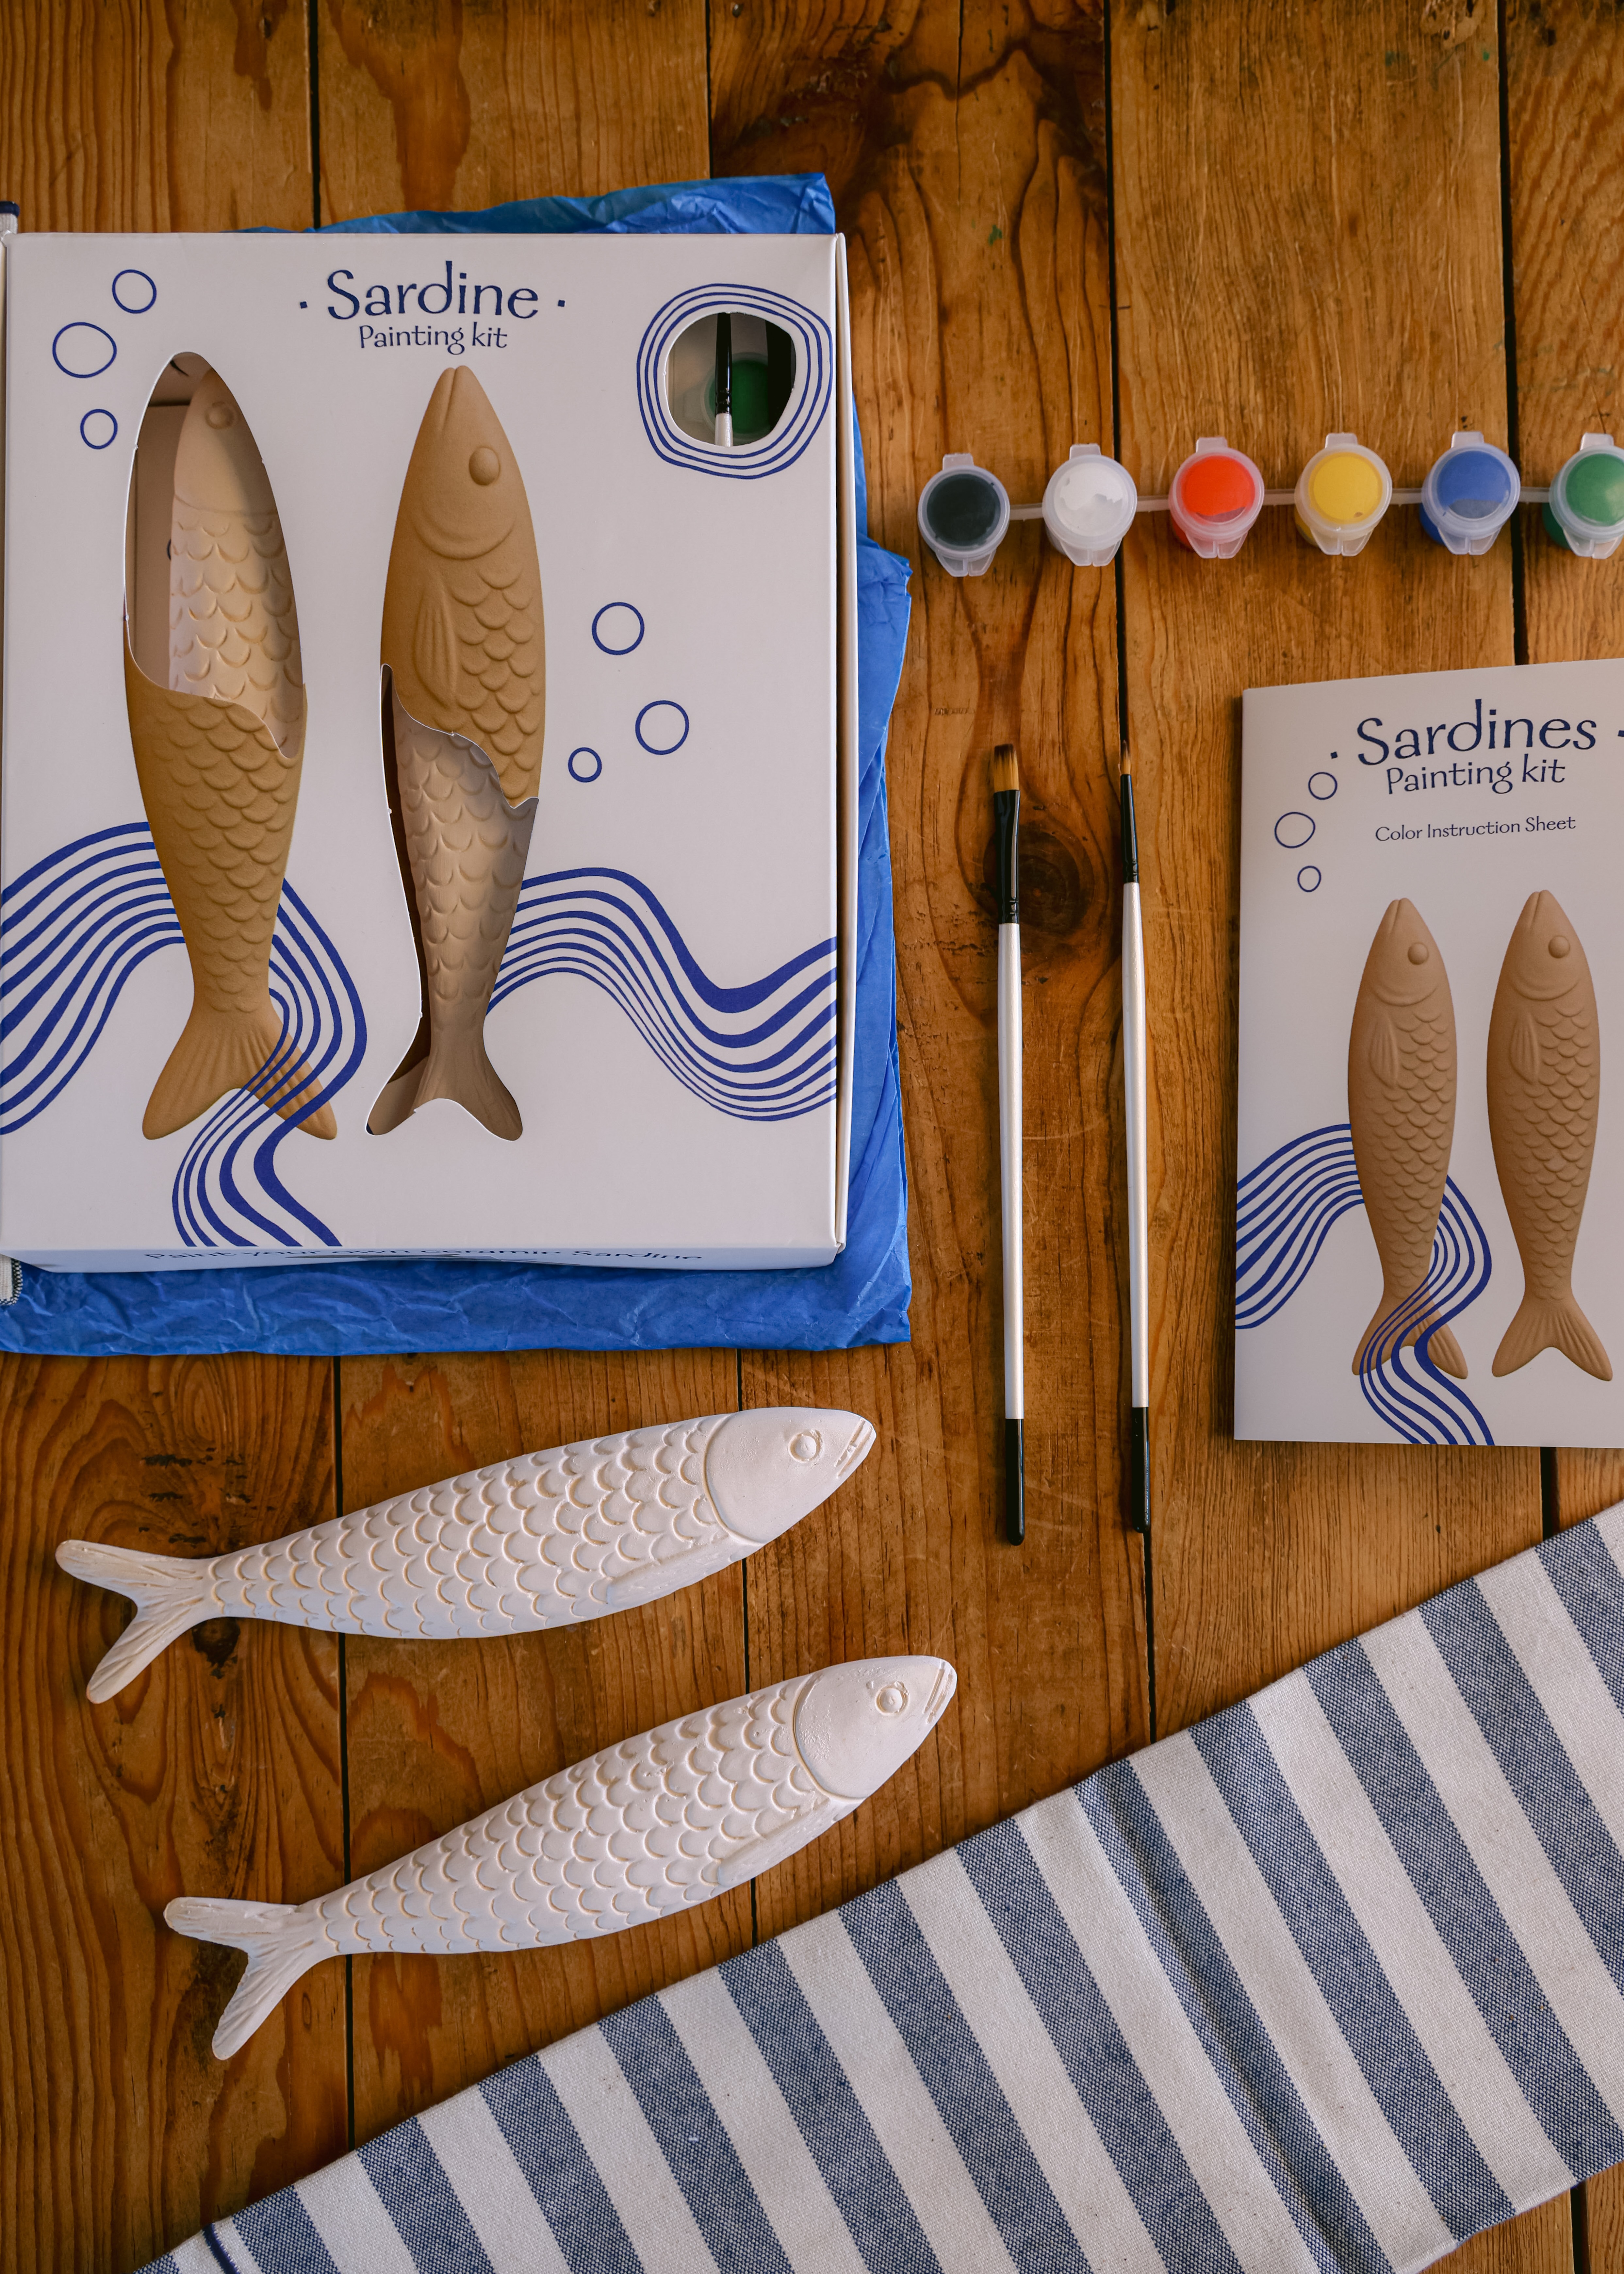
Sardines Painting Kit

Detailed Description

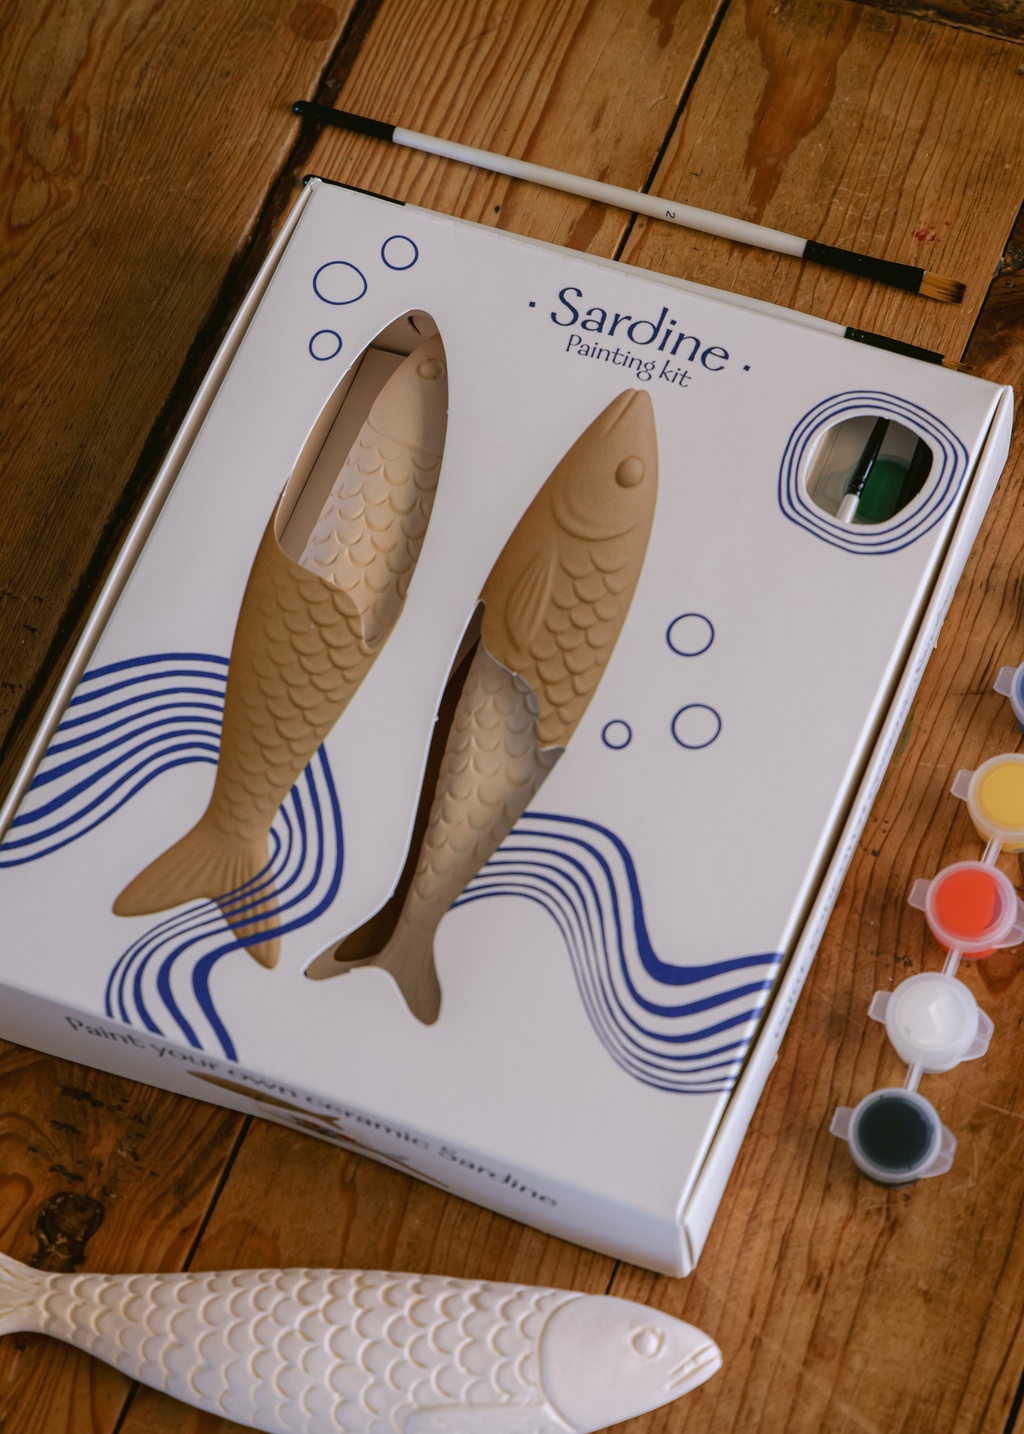
This set contains: 

  • Two bisque ceramic sardines
  • High-quality paints (6 basic colors)
  • Premium Gloss Varnish
  • Two different brushes
  • Step-by-step instructions


Created to bring playful creativity and Mediterranean charm into your home, the Sardine Painting Kit invites you to transform two ceramic sardines into unique, hand-painted decorative pieces. The bisque ceramic surface is ideal for painting, allowing colors to adhere beautifully and details to come to life.

Easy-to-follow instructions guide you through the process, making the kit suitable for both beginners and experienced creatives. Thoughtfully packaged, the Sardine Painting Kit is perfect as a gift or as a relaxing, hands-on creative activity inspired by coastal traditions.
Instructions for the Ceramic Sardines Painting Kit

How to Paint Your Sardines for a Long-Lasting Finish 

Como pintar as suas sardinhas para um acabamento duradouro

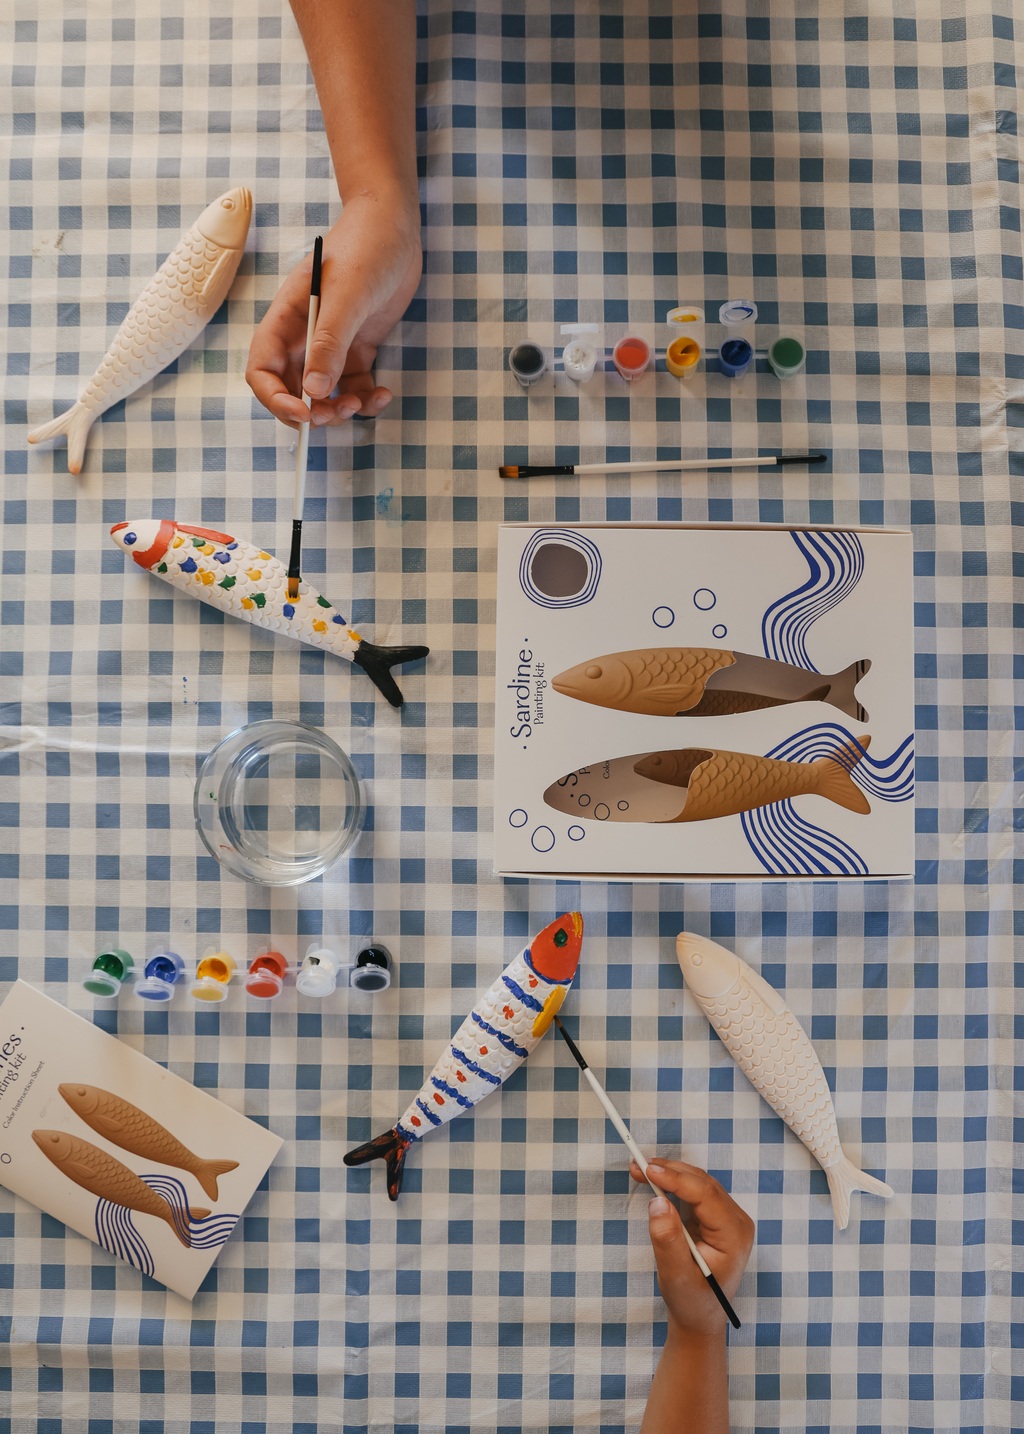
Preparation: Lightly sketch your design on the sardine with a pencil if desired, then begin painting. Find inspiration online with the QR code if needed.


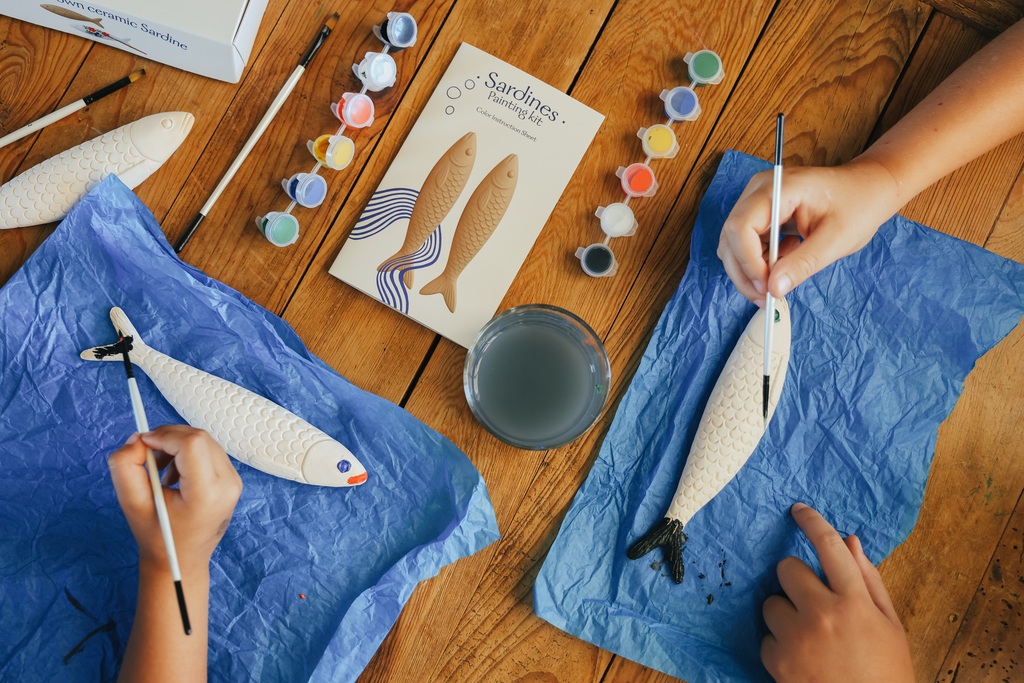
  1. Clean the Sardines: Carefully remove dust or residue from the ceramic sardines using a dry cloth.
  2. Paint the Sardines: Use one of the small brushes to apply a thin, even layer of high-quality acrylic paint. Allow the first coat to dry completely, then apply a second coat if needed.
  3. Let the Paint Dry: Make sure the painted sardines are fully dry before proceeding (at least 24 hours recommended).
  4. Seal the Painted Sardines: Gently wipe off any dust. Shake the varnish well, then apply a thin, even coat over the entire sardine using a brush. Brush evenly to reduce visible brush strokes and let it dry in a dust-free area.
  5. Curing Time: Leave the sealed sardines to cure for several days. Avoid touching them or placing objects on them during this time.
  6. Care and Maintenance: Clean with a soft, slightly damp cloth. Do not scrub or use abrasive cleaners.


Preparação: Se desejar, esboce ligeiramente o seu desenho na sardinha com um lápis antes de começar a pintar. Se precisar de inspiração, pode encontrá-la online através do código QR.

  1. Limpar as sardinhas: Remova cuidadosamente o pó ou quaisquer resíduos das sardinhas de cerâmica utilizando um pano seco.
  2. Pintar as sardinhas: Utilize um dos pincéis pequenos para aplicar uma camada fina e uniforme de tinta acrílica de alta qualidade. Deixe a primeira camada secar completamente e aplique uma segunda camada, se necessário.
  3. Deixar a tinta secar: Certifique-se de que as sardinhas pintadas estão totalmente secas antes de continuar (recomenda-se um mínimo de 24 horas).
  4. Selar as sardinhas pintadas: Remova suavemente qualquer pó. Agite bem o verniz e aplique uma camada fina e uniforme sobre toda a sardinha com um pincel. Pinte de forma uniforme para reduzir marcas visíveis do pincel e deixe secar num local livre de pó.
  5. Tempo de cura: Deixe as sardinhas seladas curar durante vários dias. Evite tocá-las ou colocar objetos sobre elas durante este período.
  6. Cuidados e manutenção: Limpe com um pano macio ligeiramente húmido. Não esfregue nem utilize produtos de limpeza abrasivos.


Download Instruction Sheet in different languages

How to mix your colors correctly?


Inspiration

Inspiration page on Pinterest

Inspiration Video

Creating your own hand-painted tile is simple and relaxing. Follow these steps to achieve clean, beautiful results — even if you’re painting for the first time.

How to Paint Your Tile

  1. Clean the tile with a dry, soft cloth
  2. (Optional) Use a stencil or lightly sketch your design with a pencil
  3. Apply a thin, even layer of acrylic paint with a small brush
  4. Let dry, then apply a second coat if needed
  5. Allow to dry completely (min. 24 hours)
  6. Apply a thin, even coat of varnish with the large brush
  7. Let cure for several days in a dust-free space
  8. Clean gently with a soft, damp cloth